
Use the newsletter builder to easily package and send out your news. You choose the articles to include and organise them by topic. You can also add your own introduction and a custom image header, for branding (Tools only).
Step 1 – Click to expand ‘Send news’ on the left-hand navigation and click ‘Create newsletter’.

Step 2 – Choose the template you want from the drop down. You can create a range of templates to use. Here’s how to create a template.

Step 3 – Customise your newsletter:
Subject – This will be the subject line when your newsletter is emailed out. It will be pre-populated from what you put in your template, but you can edit it if you want to.

Intro – You can include some introductory text to add your own comments or call attention to something. It will be pre-populated from what you put in your template, but you can edit it.
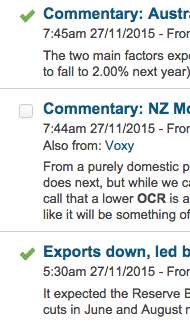
Step 4 – Drag and drop the articles you want into the newsletter. Hover your mouse over the rows of dots on the left of the article headline in lists and a move icon (grabby hand) will appear.

Click and hold on the rows of dots to drag and drop the article into the right spot in the newsletter. The dotted green outline shows where the article will be inserted.

Step 5 – Once you have your content in the newsletter you might want to give it a final once over. You can expand the newsletter to see more items at once, so you don’t have to scroll so much. Just click on the ‘left’ arrow in the ‘Edit Newsletter’ heading.


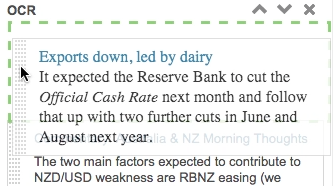
Reordering articles – To reorder the articles, or move them to different sections you can drag them to a new spot. Hover your mouse over the rows of dots on the left of the article and a move icon will appear. Click and hold to drag and drop the article to a new position in the newsletter. The dotted green outline shows where the article will be inserted.

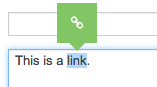
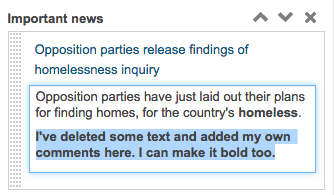
Editing article text – You can edit the text that appears under the headline (the intro text or relevant snippet). Just click on the text to make the field active, then make your changes. You can make the text bold too, just select the text you want bold and use the keyboard shortcut Control+b.
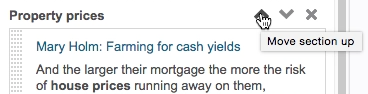
Reordering sections – You can change the order of sections. Click the up or down arrow to move the section to where you want it in your newsletter.
Adding new sections – You can add new sections to the newsletter. Scroll to the bottom of the newsletter and click ‘+ Add additional section.’ This will insert a ‘New section’ at the bottom which you can rename.

Renaming sections – Click on the section name (e.g ‘New section’ or any of your existing sections), type in what you want to call it, and click ‘Save’.

Step 6 – When you’re happy with your newsletter you can send it out.
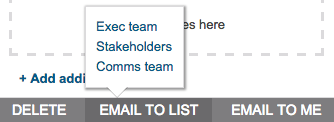
Send the newsletter to yourself – Click ‘Email to me’ and it will be sent to your login email address.
Send the newsletter to a distribution list – If you have the news distribution add-on you can click ‘Email to list’ and choose the distribution list you want to send the newsletter to. Here’s how to create a newsletter distribution list.

Newsletters are automatically saved as you go. You can look up, edit and resend any of the last ten newsletters you’ve created from the ‘Saved newsletters’ dropdown.

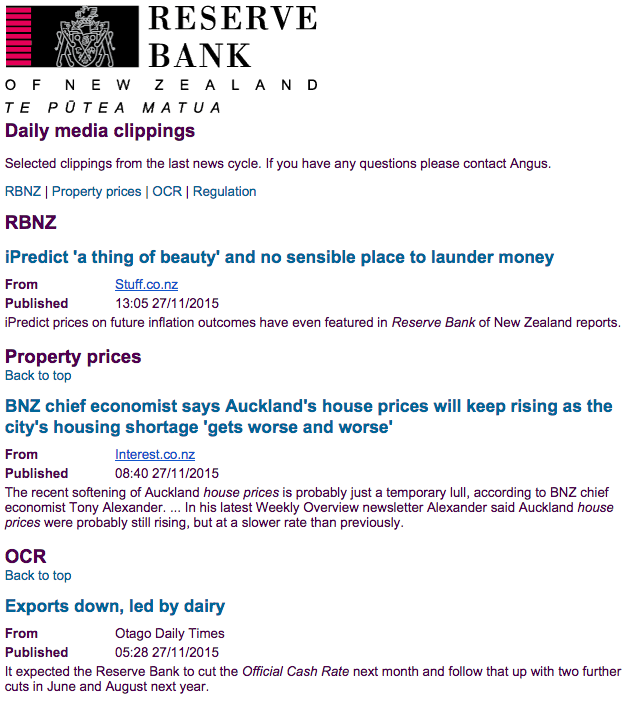
Here’s how the newsletter will look:
You must be logged in to post a comment.